

Assistants quickstart
Overview
Create a voice assistant, connect it to a free phone number, and call it. You can complete this quickstart in the Dashboard or with the Vapi API.
In this quickstart, you’ll:
- Create and test an assistant
- Connect the assistant to a phone number
- Call your assistant on its new phone number
- Optionally, place an outbound call from an imported number
Prerequisites
- A Vapi account
- For cURL or SDK requests, a Vapi API key
1. Create an assistant
Start from a blank assistant or from a template. A template includes a first message and a system prompt written for a common use case, so you can test a working conversation right away and edit it to fit your business.
A blank assistant uses the Balanced preset for its transcriber, model, and voice. A template uses the preset that best fits its use case. You can change the preset at any time.
Dashboard
cURL
TypeScript (Server SDK)
Create an assistant
To start from a template, select the down arrow next to Create Assistant, then choose a template from the table above. To start from scratch, select Create Assistant to create a blank assistant.
Configure a blank assistant
If you started from a template, skip this step. The template already includes a first message, a system prompt, and a model preset.
For a blank assistant:
- Choose a model preset. Under Model Presets, choose the preset that sets the transcriber (speech-to-text), model (LLM), and voice (text-to-speech) for your goal. Blank assistants use Balanced. See Model Presets to compare them.
- Write the conversation. Add a First Message and a System Prompt. The first message is what the assistant says when the call starts. The system prompt tells it who it is and how to behave. Start with these examples, then adapt them for your use case. For more on writing system prompts, see the prompting guide.
First message
System prompt
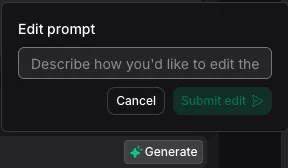
To edit the system prompt with AI, select Generate in the System Prompt section, describe the changes you want, then select Submit edit. Review the proposed edits, then select Accept changes.
Publish the assistant
Select Publish, review the changes, then select Next. Review the version and traffic settings, then select Publish. Publishing creates a new assistant version.
2. Connect a phone number
Dashboard
cURL
TypeScript (Server SDK)
Choose a phone number option
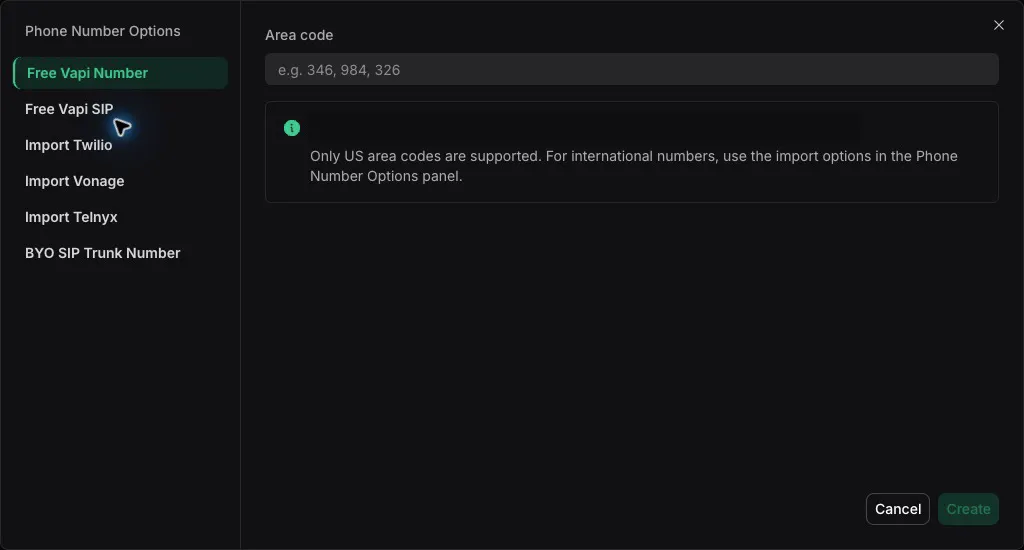
Select Create Phone Number, then choose Free Vapi Number. To use a number from another provider, choose the corresponding import option instead.
Create the phone number
Enter a three-digit US area code in Area code, then select Create.
Your first free Vapi number doesn’t require a payment method. You may be asked to add one when you request more numbers. It can take a few minutes for the number to become active.
With free Vapi numbers, only inbound calls are supported. To make outbound calls, import a number from Twilio, Telnyx, or DIDWW. See Free Vapi numbers for details, and Pricing and Success Packages for how many numbers your package includes.
3. Call your assistant
Call the phone number you created from your own phone. Your assistant answers with its first message. A new number can take a few minutes to become active.
Have a short conversation to see how your assistant responds:
- Ask a question your assistant is built to handle.
- Interrupt it while it’s speaking to check that it stops and listens.
- Ask something off-topic to see how it steers the conversation back.
- Say goodbye and hang up.
After the call, open Logs → Calls in the Dashboard to review the transcript, recording, and how the call ended.
4. Place an outbound call (optional)
With free Vapi numbers, only inbound calls are supported. To make outbound calls, import a number from Twilio, Telnyx, or DIDWW. See Free Vapi numbers for details.
Dashboard
cURL
TypeScript (Server SDK)
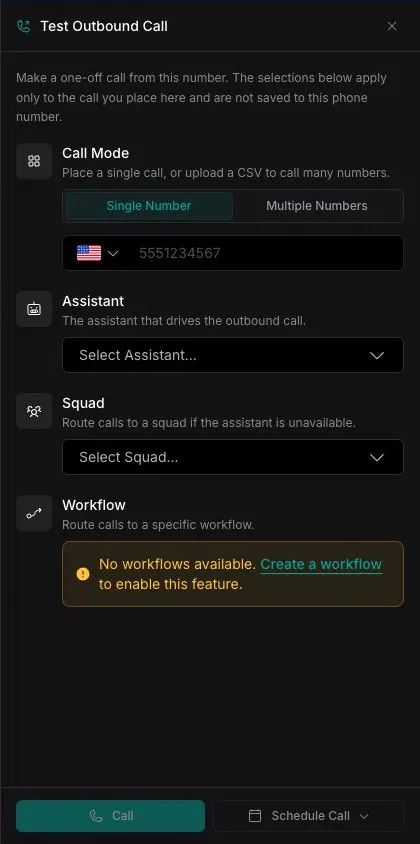
Open the phone number
Open the Dashboard, select Phone Numbers, then select the imported phone number that will place the call.
Next steps
- Build with an AI coding assistant: The create-assistant skill helps you design, create, and validate an assistant through the API.
- Add tools: Function tools
- Tune speech: Speech configuration
- Use a preset: Model Intelligence presets bundle a transcriber, model, and voice for common use cases.
- Structure data: Structured outputs
- Move to multi-assistant: Squads