

Import number from Telnyx
Overview
This guide shows you how to import your existing Telnyx phone numbers to the Vapi platform and enable outbound calling. Follow the steps below to use your Telnyx numbers with your assistants or squads.
Prerequisites
- An active Telnyx account
- A Telnyx phone number
- A Telnyx API key
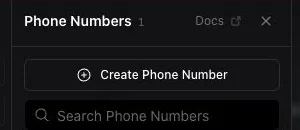
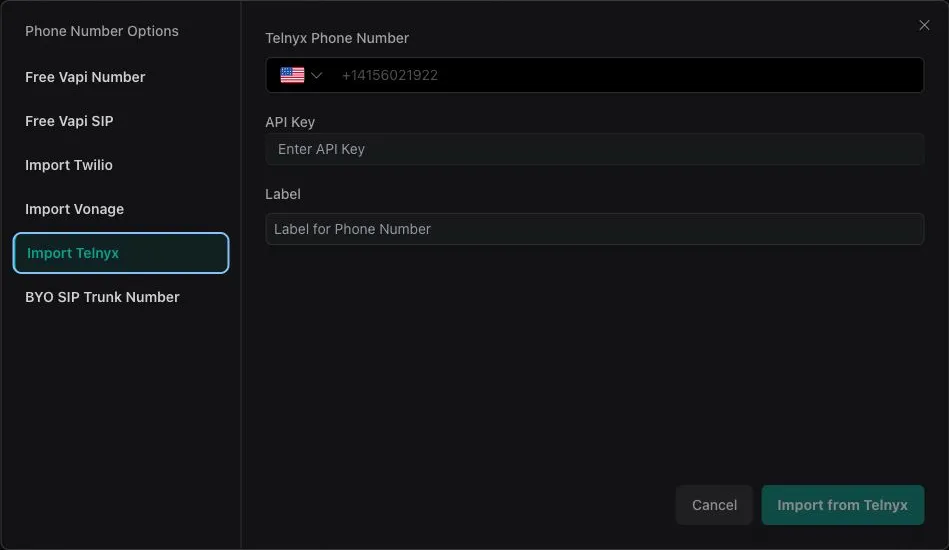
Configuring outbound calling with Telnyx
To enable outbound calling with your imported Telnyx numbers, configure your Telnyx account:
Configure an Outbound Voice Profile
Create a profile or select the profile you want to use. Configure its allowed destinations and other calling limits as needed. For details, see Telnyx’s Outbound Voice Profiles documentation.
Without this configuration, outbound calling functionality will not work properly with your Telnyx numbers on the Vapi platform.
Troubleshooting
Distorted caller audio on some calls outside North America
On some calls outside North America, the native Telnyx integration may receive static or garbled audio from the person on the phone. Transcripts may be empty or fragmented.
Some of these call legs use G.711 A-law (PCMA), while the native Telnyx integration currently expects G.711 µ-law (PCMU). This codec mismatch can make the phone audio unintelligible.
Try these in order:
- Switch your transcriber to Deepgram Nova-3. It may recover transcripts on some calls, but it does not fix the underlying audio, so recordings may remain distorted.
- Ask Telnyx support whether they can make PCMU the preferred codec for the affected phone number or connection.
- Try a US-based Telnyx phone number. It may negotiate PCMU and avoid the mismatch, but verify the result with a test call.
- Use a phone number from another provider, such as Twilio or Vonage.
- If you already use a SIP trunk, route the number through it instead of the native Telnyx integration. This uses a different media path and may avoid the issue. See the Telnyx SIP integration.
Browser-based web calls use a separate WebRTC media path rather than the native Telnyx media-streaming path. A successful web call does not rule out this issue on a Telnyx phone call.